
Resin Printing for Dental Labs: Accuracy & Workflow

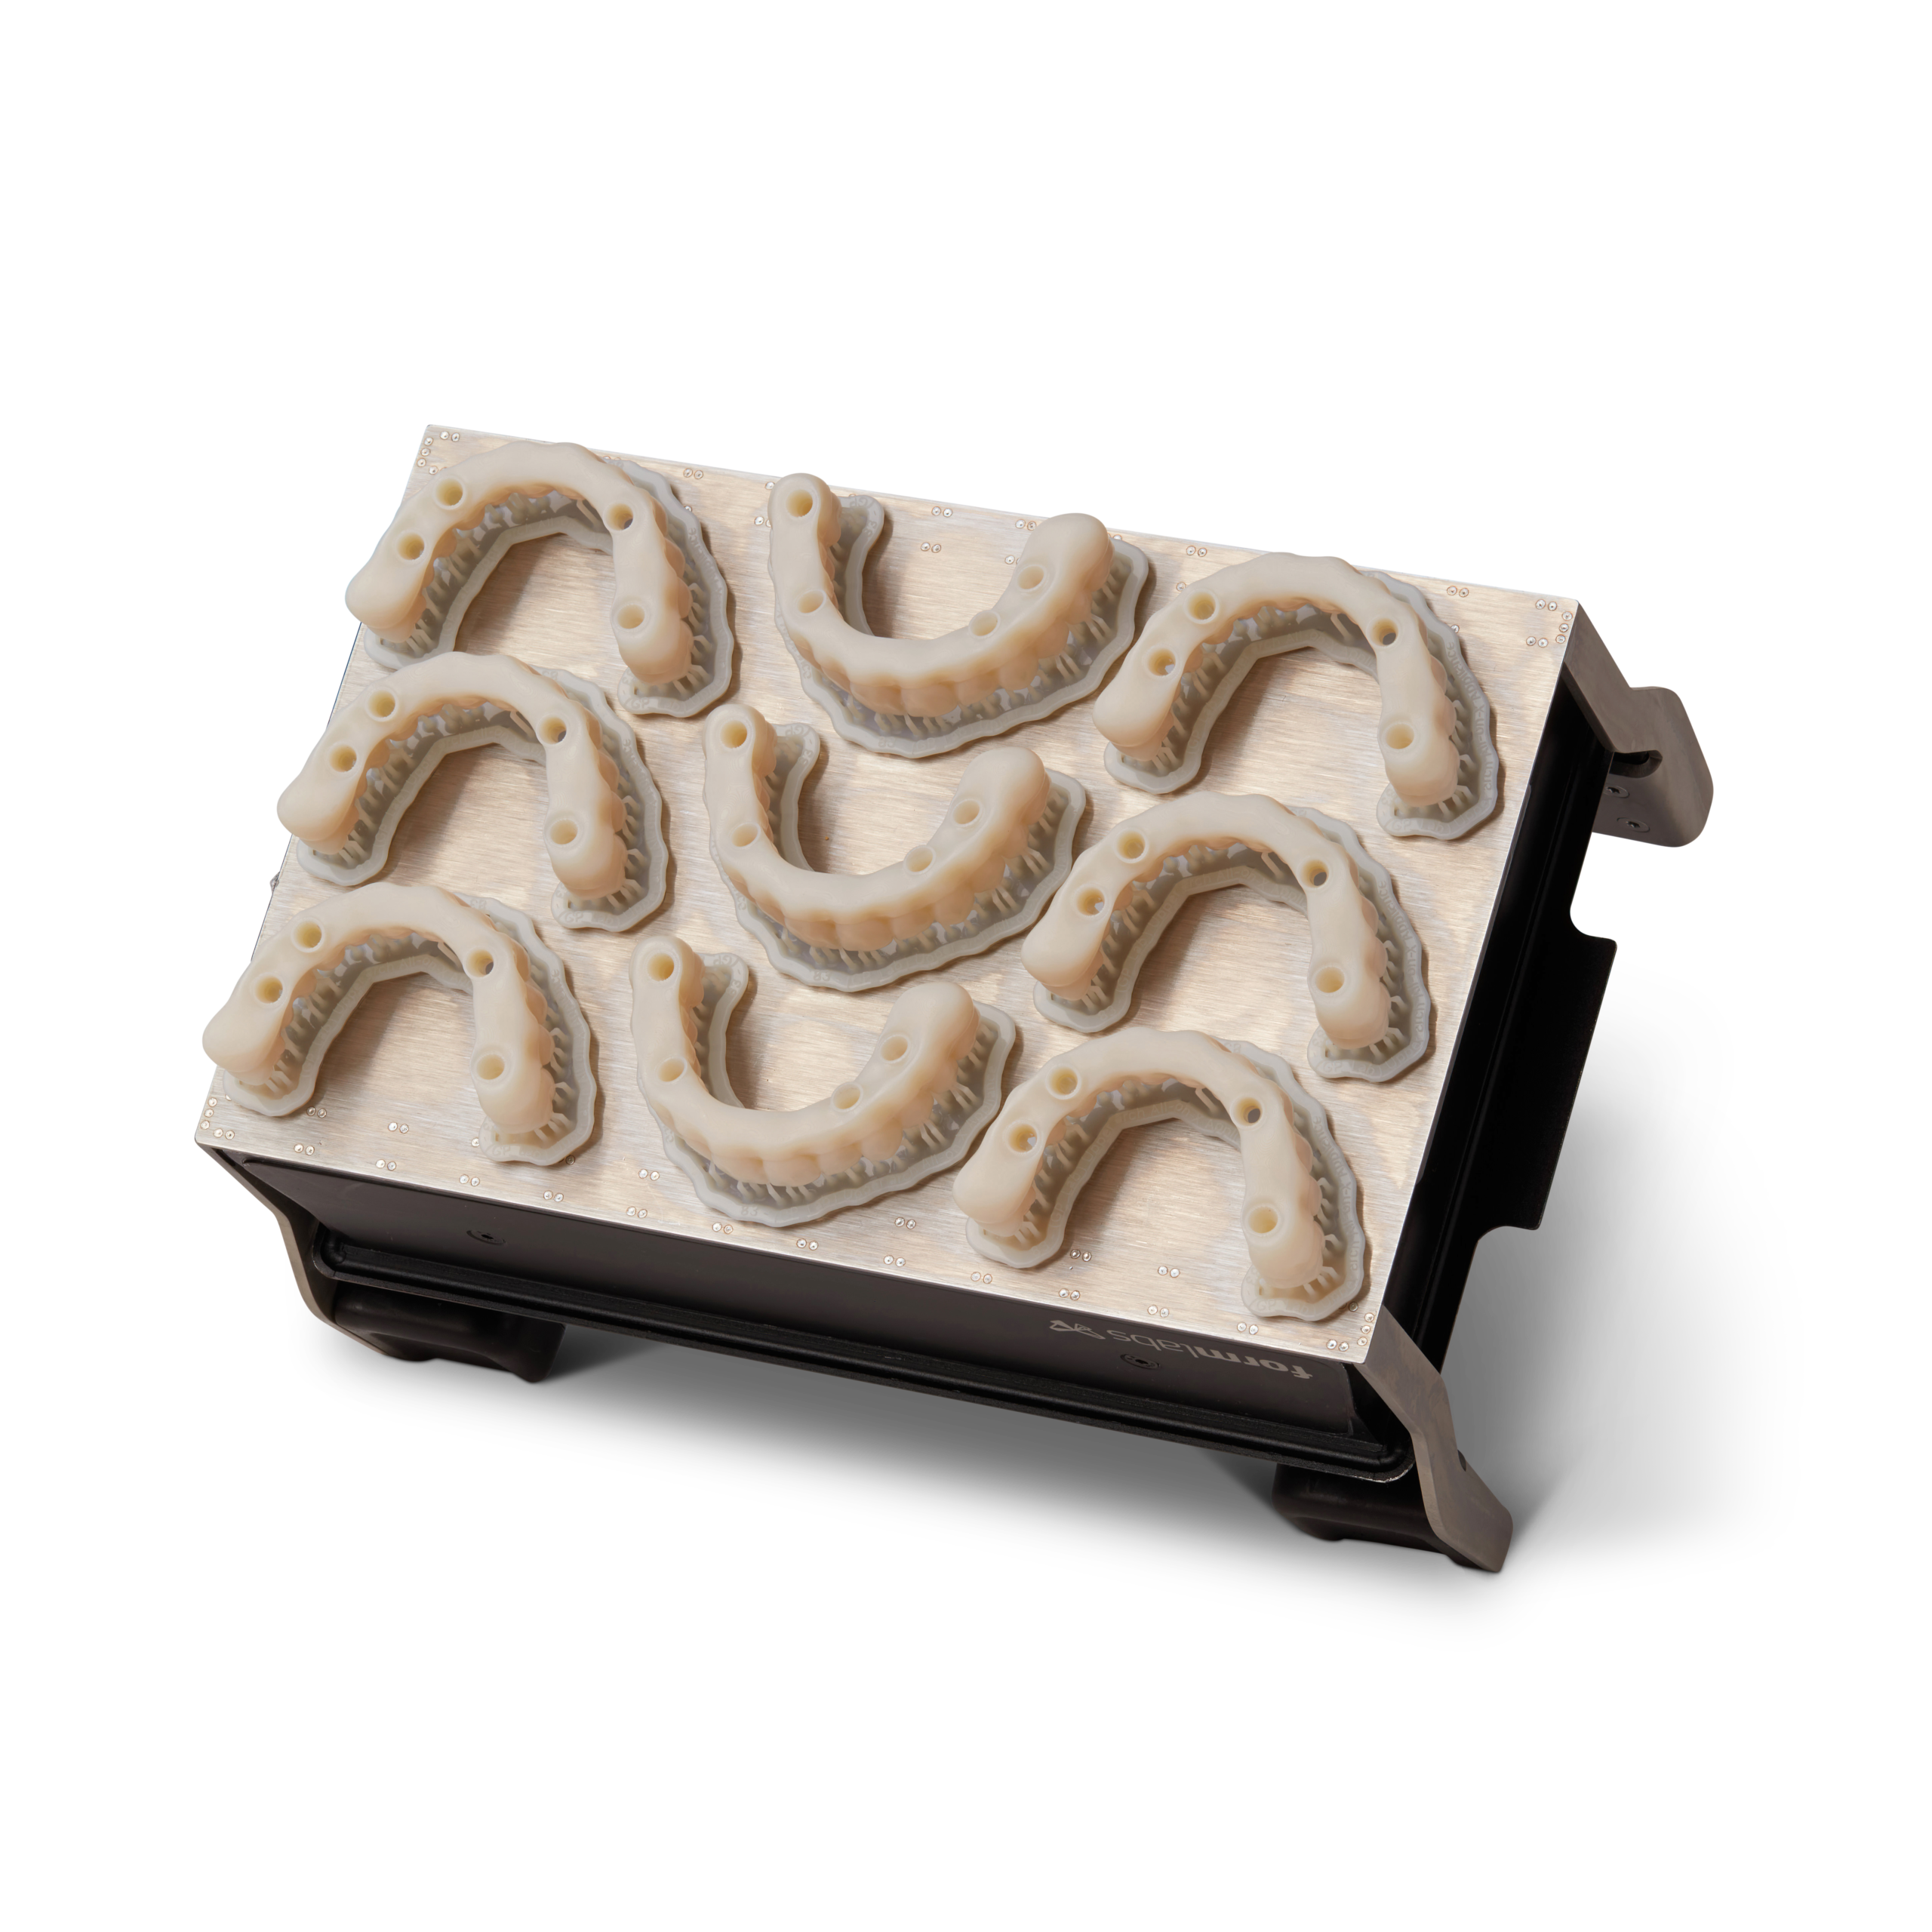
Resin 3D printing has become an important part of modern dental laboratory workflows. It allows dental professionals to turn digital scans and CAD designs into detailed physical models with a repeatable production process.
For a dental lab, however, printing a model is only one part of the job.
Accuracy, resin selection, model preparation, printing parameters, post-processing, and quality control all influence the final result.
A well-organized workflow can help dental labs produce consistent models while reducing failed prints, unnecessary material waste, and repeated work.
This guide explains how resin 3D printing fits into a dental lab workflow and what factors can affect printing accuracy.
What Is Resin 3D Printing for Dental Labs?
Resin 3D printing uses liquid photopolymer resin and controlled light exposure to build a model layer by layer.
A typical dental workflow begins with a digital scan. The scan is processed using dental CAD software and converted into a printable digital model.
The model is then prepared in slicing software before being sent to the resin 3D printer.
After printing, the model needs to be washed, dried, and post-cured according to the resin manufacturer’s instructions.
The completed model can then be inspected and prepared for its intended dental application.
The Dental Resin Printing Workflow
A typical workflow includes:
- Digital scanning
- CAD model preparation
- Model inspection
- Slicing and print preparation
- Model orientation
- Support generation
- Resin 3D printing
- Print removal
- Washing
- Drying
- Post-curing
- Support removal and finishing
- Accuracy inspection
- Final preparation
Each step can affect the quality of the final model.
Step 1: Start With a Good Digital Model
The printing process begins before the printer is turned on.
An intraoral scan or scanned physical impression provides the digital information used to create the dental model.
The CAD model should be checked before printing.
Check the Digital File
Look for:
- Missing scan data
- Holes or unwanted gaps
- Incorrect margins
- Distorted areas
- Unnecessary geometry
- Incorrect dimensions
A printer cannot correct problems that already exist in the digital model.
If the source file contains inaccurate or incomplete information, the printed model can reproduce those problems.
Step 2: Prepare the Model for Printing
Once the digital model is ready, it can be imported into slicing software.
The slicer converts the model into individual layers that the printer can produce.
Select the Appropriate Resin
The resin should match the intended dental application.
Dental model workflows may require different material characteristics from surgical guides, temporary restorations, denture bases, or other applications.
The material should always be selected according to its intended use and manufacturer’s technical documentation.
MCast 3D currently offers dental-focused materials such as Pro Model Resin and Ortho Model Resin, along with other application-specific dental resins.
The important point is to match the material to the actual workflow rather than selecting a resin based only on its resolution or appearance.
Step 3: Choose the Right Print Settings
Print settings have a direct effect on the quality of a dental model.
Important parameters include:
- Layer height
- Exposure time
- Lift settings
- Printing speed
- Model orientation
- Support placement
- Resin temperature
Higher resolution does not automatically guarantee a better result.
For example, lower layer heights can capture more vertical detail, but they can also increase printing time. The appropriate setting depends on the application and the level of detail required.
Always begin with the manufacturer’s recommended settings for the specific printer and resin.
Step 4: Orient the Dental Model
Orientation affects printing stability, surface quality, support placement, and production efficiency.
Some dental models can be printed directly on the build platform, while other designs may benefit from an angled orientation with supports.
Why Orientation Matters
Poor orientation can increase support requirements or place important surfaces in less favorable positions.
For dental models with critical margins or detailed anatomy, the orientation should be selected carefully.
The goal is to maintain dimensional accuracy while producing a stable print.
Step 5: Generate Supports Carefully
Supports keep the model stable during printing.
However, unnecessary supports can create marks on important surfaces.
Support placement should therefore be planned around the geometry of the dental model.
Protect Important Areas
Avoid placing support contact points on critical anatomy whenever possible.
This is particularly important around:
- Tooth surfaces
- Margins
- Occlusal anatomy
- Implant areas
- Die surfaces
- Other precision features
Support placement is not simply about making the model stick to the build plate. It is also about protecting the areas that matter most.
Step 6: 3D Print the Dental Model
After the model has been oriented and supported, the print job can be sent to the printer.
MCast currently lists the Nova3D GEM3 Dental and Nova3D GEM3 Max Dental resin 3D printers for professional dental workflows.
The GEM3 Dental uses a 9072 × 5120 resolution and a 17 × 17 μm pixel size, while the GEM3 Max Dental uses a 15120 × 6230 resolution with a 14 × 19 μm pixel size.
These specifications can support detailed dental printing, but the final accuracy still depends on the complete workflow.
Printer resolution alone does not determine the accuracy of a finished dental model.
Step 7: Remove the Printed Model Carefully
After printing, the model must be removed from the build platform.
Careful handling is important because freshly printed resin parts can be more vulnerable to damage before post-processing is complete.
Remove the model using an appropriate tool and avoid applying unnecessary force to delicate areas.
Support structures should also be removed carefully to prevent damage to the model.
Step 8: Wash the Printed Model
Washing removes uncured resin from the surface of the printed model.
This step is important because residual resin can affect surface quality and may interfere with later processing.
The washing method and duration should follow the resin manufacturer’s recommendations.
Avoid Over-Washing
More washing is not automatically better.
Some dental printing workflows specify precise washing times because excessive washing can affect dimensional accuracy or the performance of the printed part.
Use clean washing solution when required and make sure the model is thoroughly cleaned.
Step 9: Dry the Model Completely
After washing, the model should be allowed to dry before curing.
Residual washing solution or liquid resin can remain in small areas of the model.
Compressed air can help remove liquid from detailed surfaces, followed by appropriate drying time.
The model should be completely dry before post-curing.
Step 10: Post-Cure the Model
Post-curing exposes the printed model to controlled light and, depending on the material, specific temperature conditions.
The purpose is to achieve the properties specified for the particular resin.
Follow the Resin’s Curing Requirements
Different resins can require different curing times and temperatures.
Using the wrong curing process can affect the final properties and dimensions of the printed model.
For this reason, dental laboratories should follow the manufacturer’s recommended post-curing procedure rather than using one standard curing profile for every resin.
Step 11: Remove Supports and Finish the Model
Once the model has been properly processed, remaining supports can be removed.
Use care around critical dental anatomy.
Avoid Unnecessary Surface Damage
Aggressive support removal can leave marks or damage important surfaces.
If finishing is required, use controlled techniques to avoid changing the dimensions of critical areas.
For dental models, the goal is not simply to make the surface look smooth. It is to preserve the geometry created in the digital model.
Step 12: Check Printing Accuracy
Accuracy should be checked throughout the workflow rather than only after printing.
Compare the printed model with the original digital model when the application requires precise dimensional control.
What Should You Inspect?
Check for:
- Warping
- Distortion
- Missing anatomy
- Surface defects
- Support damage
- Dimensional changes
- Poorly formed details
- Incomplete printing
For high-precision dental applications, digital inspection or scanning can also be used to compare the printed model against the original CAD data.
What Affects Dental 3D Printing Accuracy?
Several factors can influence the accuracy of resin 3D printed dental models.
Layer Height
Layer height affects vertical resolution and printing time.
A smaller layer height can capture finer vertical details, but the best setting depends on the specific application.
Printer Resolution
The printer’s pixel size and optical system affect the level of detail that can be reproduced.
High-resolution printers can be useful when the model contains fine anatomical features.
Model Orientation
Orientation affects how the layers build the model and where supports are placed.
A poor orientation can introduce unnecessary supports or affect critical surfaces.
Resin Properties
Different resins behave differently during printing, washing, and curing.
The resin should therefore be selected according to the intended dental application.
Post-Processing
Washing and curing are part of the manufacturing process.
Incorrect post-processing can affect the final dimensions and surface quality of the model.
Printer Maintenance
A clean build platform, properly maintained resin vat, consistent light exposure, and stable mechanical movement can all contribute to reliable printing.
Regular maintenance is especially important for dental labs producing models repeatedly.
Common Problems in Dental Resin Printing
Even a well-configured printer can produce inconsistent results if other parts of the workflow are overlooked.
Warped Dental Models
Possible causes include poor orientation, insufficient support, incorrect exposure, or unsuitable printing conditions.
Loss of Fine Details
Fine anatomy may be affected by incorrect exposure, excessive support marks, unsuitable layer settings, or problems in the original digital model.
Poor Surface Quality
Surface problems can result from printing parameters, contaminated resin, support placement, or incorrect post-processing.
Dimensional Inaccuracy
Dimensional problems can have multiple causes.
Printer calibration, resin behavior, orientation, washing, curing, and environmental conditions can all influence the final result.
Do not assume that the printer itself is always responsible.
How Dental Labs Can Improve Their Workflow
Consistency comes from controlling the entire process.
Use Validated Printer and Resin Settings
Create reliable print profiles for the specific printer and resin combination.
Avoid changing multiple parameters at the same time when troubleshooting.
Keep Resin Conditions Consistent
Resin temperature and handling can influence printing behavior.
Store and use resin according to the manufacturer’s recommendations.
Standardize Post-Processing
Use consistent washing, drying, curing, and support-removal procedures.
A standardized process makes it easier to identify problems when something changes.
Record Successful Settings
Maintain records of:
- Resin type
- Layer height
- Exposure
- Orientation
- Support strategy
- Washing procedure
- Curing procedure
- Printer used
This creates a repeatable workflow for future dental cases.
Choosing a Resin 3D Printer for a Dental Lab
The right printer depends on the lab’s production requirements and intended applications.
Nova3D GEM3 Dental
The Nova3D GEM3 Dental has a 154 × 87 × 120 mm build volume and 17 × 17 μm pixel size. Its resolution and compact build area make it suitable for detailed dental resin printing workflows.
Nova3D GEM3 Max Dental
The Nova3D GEM3 Max Dental provides a larger 211 × 118 × 120 mm build volume with a 14 × 19 μm pixel size. The larger build area can be useful for dental labs that need to produce multiple models in a batch.
The choice between printers should depend on the laboratory’s model sizes, production volume, required detail, and workflow.
Choosing Dental Resin
The resin should always be selected according to the application.
For example, model production requires different material characteristics from temporary restorations, surgical guides, or denture applications.
MCast’s current dental resin range includes materials such as Ortho Model Resin, Pro Model Resin, Surgical Guide Resin, Denture Base Resin, and Dental Castable Resin. Availability can change, so the material’s current application and technical specifications should be checked before production.
The key is not simply choosing a high-resolution resin. The material must be appropriate for the intended workflow.
Resin Printing for Different Dental Applications
Resin 3D printing can support several dental laboratory workflows.
Dental Models
Dental model resins can be used to produce physical representations of digital dental scans.
These models can support diagnostic, orthodontic, restorative, and laboratory workflows depending on the material.
Orthodontic Models
Digital orthodontic workflows can use resin printing to produce detailed models for applications such as treatment planning and appliance production.
The required accuracy depends on the specific application.
Surgical Guides
Surgical guide workflows require application-specific materials and validated processes.
A resin intended for general models should not automatically be used for a surgical guide.
Always follow the manufacturer’s intended-use documentation.
Dental Casting Patterns
Specialized dental castable resin can be used to produce patterns for investment casting workflows.
The printing, cleaning, investment, and burnout procedures should follow the material manufacturer’s recommendations.
Quality Control in a Dental 3D Printing Workflow
A consistent dental laboratory should treat quality control as part of production rather than an optional final step.
Check the digital model before printing.
Inspect the printed model after washing.
Check critical surfaces after post-curing.
Compare dimensions when the application requires high accuracy.
Keeping records of successful print profiles can also help identify changes in printer performance or material behavior.
Dental Resin Printing Workflow at a Glance
Digital Scan → CAD Design → Model Preparation → Slicing → Orientation → Supports → Resin Printing → Washing → Drying → Post-Curing → Support Removal → Inspection → Final Preparation
Each stage contributes to the quality and consistency of the finished dental model.
Conclusion
Resin printing can give dental laboratories a practical way to connect digital dentistry with physical production.
However, accurate dental models do not come from printer resolution alone.
The complete workflow matters.
Digital model quality, resin selection, print settings, orientation, supports, washing, drying, post-curing, and quality control can all influence the final result.
For dental labs, the goal should be a repeatable and controlled workflow rather than simply achieving a successful print.
MCast 3D’s current dental printing range includes the Nova3D GEM3 Dental and Nova3D GEM3 Max Dental, along with application-specific dental resins for different workflows.
By matching the printer and material to the application and maintaining consistent processing procedures, dental laboratories can build a more reliable resin 3D printing workflow.