
Post-Processing Castable Resin Prints: Best Practices for Jewelers

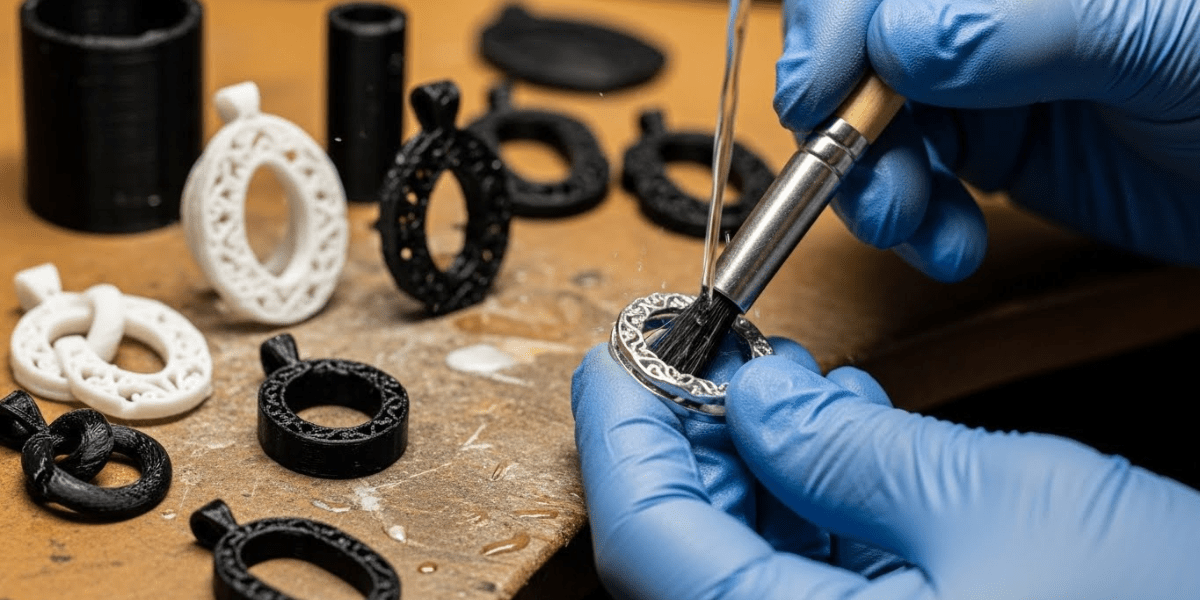
3D printing has transformed the jewelry industry, allowing designers to create intricate pieces with precision and efficiency. Among the materials used for jewelry production, castable resin for 3D printing is popular for creating highly detailed patterns for investment casting.
However, successful casting depends on more than print quality. Proper cleaning, support removal, curing, and preparation can significantly affect the final result.
In this guide, we cover practical post-processing techniques for castable resin prints to help jewelers prepare their models for the casting process.
Understanding Post-Processing in Jewelry 3D Printing
Post-processing refers to the steps performed after a resin print is removed from the printer.
These steps prepare the model for its intended application.
Why Post-Processing Matters
Even highly detailed 3D printed jewelry patterns require careful post-processing.
Proper post-processing helps to:
- Remove support structures without damaging fine details.
- Remove uncured resin from the model.
- Improve the surface condition of the print.
- Prepare the pattern for investment casting.
- Reduce avoidable casting problems.
Skipping these steps can leave unwanted resin on the model. It can also affect delicate features and the final casting process.
Key Steps in Post-Processing
The exact workflow depends on the resin and printer being used.
However, most castable resin workflows involve several important stages.
Cleaning
Cleaning removes uncured resin from the printed model.
Isopropyl alcohol (IPA) or a manufacturer-recommended cleaning solution can be used, depending on the resin.
Support Removal
Supports should be removed carefully after printing.
Precision cutters can help separate supports while reducing the risk of damaging delicate features.
Curing
Some castable resins require specific post-curing procedures.
Always follow the manufacturer’s instructions for curing time, temperature, and light exposure.
Not every castable resin should be processed using the same curing method.
Cleaning Castable Resin Prints
Cleaning is one of the most important post-processing steps.
Residual resin can remain inside small openings, grooves, and other detailed areas.
Choosing the Right Cleaning Method
After printing, clean the model using the method recommended by the resin manufacturer.
For suitable materials, IPA can help remove uncured resin from the surface.
An ultrasonic cleaner may also be useful for certain workflows.
Pay Attention to Fine Details
Small cavities and intricate patterns can retain uncured resin.
Inspect these areas carefully during cleaning.
Avoid aggressive scrubbing because it can damage delicate jewelry details.
A soft brush can help clean difficult areas when appropriate.
Drying and Inspection
Allow the cleaned model to dry completely before continuing with post-processing.
Check the Model Before Curing
Inspect the print for:
- Remaining resin
- Support marks
- Surface defects
- Cracks
- Warping
- Missing details
Fixing visible problems before the casting stage can help prevent unnecessary failures.
Curing Castable Resin Prints
Curing requirements vary between different castable resin formulations.
Some materials require controlled UV exposure, while others have specific processing requirements.
Importance of Proper UV Curing
Following the correct curing procedure helps the printed pattern achieve its intended properties.
Incorrect curing can affect dimensional stability and the casting process.
Best Practices for UV Curing
Before curing, check the resin manufacturer’s technical documentation.
Follow the Recommended Procedure
Pay attention to:
- Curing duration
- Light intensity
- Curing temperature
- Recommended equipment
- Whether curing is required at all
If a curing station is used, ensure the model receives appropriate exposure.
Avoid applying a generic curing schedule to every castable resin.
Support Removal and Surface Finishing
Support structures provide stability during printing.
However, they must be removed carefully to preserve the original design.
Removing Supports Safely
Use precision cutters or suitable support-removal tools.
Protect Intricate Jewelry Details
Remove supports gradually instead of applying excessive force.
Pay particular attention to thin walls, sharp edges, prongs, and other delicate features.
Smoothing the Surface
Minor support marks may require careful finishing.
Light sanding can help reduce visible imperfections when appropriate.
Avoid Over-Sanding
Excessive sanding can change the geometry of a jewelry pattern.
This is especially important for pieces containing fine textures or intricate details.
The goal should be to improve the surface without changing the original design.
Preparing Castable Resin Prints for Investment Casting
Once the model has been properly cleaned and processed, it can be prepared for casting.
Investment Casting Considerations
The printed pattern is typically attached to a sprue system before being placed into investment material.
The exact casting procedure depends on the casting method, investment material, and resin.
Why Proper Preparation Matters
A well-prepared pattern can help maintain the intended design during casting.
Jewelers should pay attention to:
- Sprue placement
- Model cleanliness
- Investment compatibility
- Burnout requirements
- Manufacturer recommendations
Tips for Jewelers
Before investing the model:
- Inspect the print for cracks and weak points.
- Make sure the surface is free from dust and oils.
- Confirm that the resin is suitable for the intended casting process.
- Follow the recommended burnout schedule.
- Use the investment material according to its instructions.
Choosing Castable Resin for Jewelry Production
The resin is an important part of the entire printing and casting workflow.
Why Material Selection Matters
A castable resin should be selected according to the printer, casting method, and intended jewelry application.
Consider the Complete Workflow
Before purchasing a resin, check:
- Printer compatibility
- Recommended exposure settings
- Cleaning requirements
- Curing requirements
- Burnout procedure
- Recommended investment material
Following the manufacturer’s technical documentation can help create a more predictable workflow.
MCast Resin and Jewelry Applications
MCast offers materials and equipment for professionals working with resin 3D printing.
When selecting a material, jewelers should evaluate the resin according to their specific printing and casting requirements.
The right combination of 3D printer, castable resin, post-processing, and casting equipment can help improve workflow consistency.
Common Post-Processing Mistakes to Avoid
Small mistakes during post-processing can affect the final casting result.
Skipping the Cleaning Process
Residual resin can remain on the model and interfere with subsequent processing.
Clean the print thoroughly according to the resin manufacturer’s recommendations.
Over-Curing or Incorrect Curing
Incorrect curing can affect the properties of the printed pattern.
Always follow the resin manufacturer’s recommended procedure.
Removing Supports Too Aggressively
Rough support removal can damage delicate jewelry features.
Use precision tools and work carefully around thin sections.
Ignoring Burnout Guidelines
Different castable resins can require different burnout procedures.
Following the recommended burnout schedule is important for the intended casting workflow.
Failing to Inspect the Print
A completed print is not necessarily a casting-ready print.
Inspect the model carefully before investing it.
Identifying problems early can save both material and production time.
Best Practices for Consistent Jewelry Casting Results
A repeatable workflow can help jewelers reduce avoidable errors.
Standardize Your Post-Processing
Try to maintain consistent procedures for similar resin and printer combinations.
Keep Track of Successful Settings
Record important details such as:
- Resin type
- Printer model
- Exposure settings
- Layer height
- Cleaning method
- Curing procedure
- Burnout schedule
This information can help reproduce successful results in future projects.
Inspect Every Important Pattern
High-value jewelry patterns deserve careful inspection before casting.
Look for cracks, deformation, support marks, and incomplete details.
A few minutes of inspection can help prevent unnecessary casting failures.
Conclusion
Post-processing is an important part of the 3D printing jewelry workflow. Proper cleaning, support removal, curing, and inspection can help prepare castable resin patterns for the next stage of production.
The exact procedure depends on the printer, resin, and casting method. Following the manufacturer’s instructions is therefore essential.
For jewelers, consistency matters as much as print quality. A well-controlled workflow can help preserve intricate details, reduce avoidable errors, and improve production efficiency.
Whether you operate a small jewelry studio or a larger workshop, understanding how to properly process castable resin prints can make your 3D printing and casting workflow more reliable.